
Baking Joys
This Easter I decided to get out my cookie cutters and make some brightly colored treats to ship to friends and family. What fun it was to pick out which cutters to use, and bake up a storm. And it was even more fun to mix up several batches of royal icing for a palette of beautiful colors!
When I got out my collection of cookie cutters to look for Easter themed shapes, I came across a trout shaped one, and decided to make some rainbow trout for my boss who is an avid fisherman. While it’s not precisely related to Easter, knowing how much he loves fishing I thought that a school of rainbow trout would make a fun and surprising gift! So the trout had to be included in the endeavor! My daughter Molly, who was over for the decorating fest, looked up some photos of rainbow trout so we could plan out what we’d like to do with them. We decided that making them white and green with dots of other color icing would make them resemble rainbow trout. Here’s a photo of how they looked when we were done:
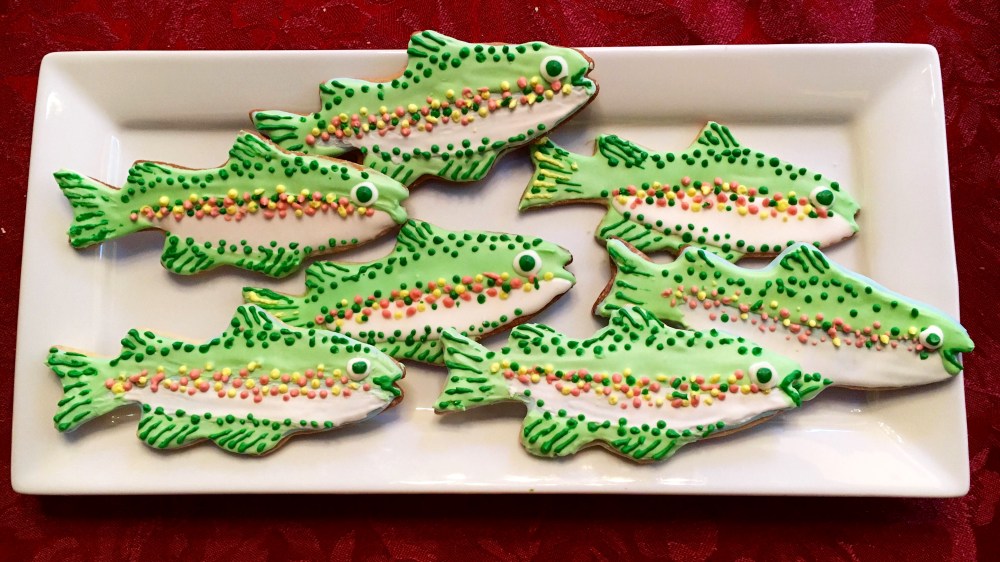
They’re pretty cute! Next time I make rainbow trout cookies, I would like to play with paintbrushes and Luster Dust or Petal Dust to see if I can’t get an even more beautiful gradation of greens, and a light dusting of pink down the center of the fish. Luster Dust and Petal Dust are powdered food colorings you can brush or dust on to give a gradient effect, or more delicate nuances of color.You can also make a paint out of them and add details to your good art with a fine paintbrush.
I wanted to make several traditionally shaped Easter cookies, and so baked up a few score of egg shaped and chick and duckling shaped cookies as well as the trout. Then I also made some little elephants, as my toddler granddaughter simply adores elephants.

Molly was kind enough to come over several evenings in a row so that we could decorate cookies together and get them ready for gifting. We had so much fun deciding what sorts of patterns we wanted to put on the cookies, and building up the designs layer by layer. This is a painstaking labor of love for sure, as it takes several days to complete the cookies. One day for baking, then three or four days for decorating, as each layer must dry before you add the next layer or detail. Still, it was a complete joy to create special Easter treats that are a delight for the eyes as well as for the tummy!

Once the cookies were all completed and dried, I carefully placed each one into a cellophane bag and began packing them for shipment. Several layers of bubble wrap and several layers of brightly colored tissue paper should help them arrive safely at their intended destinations – and hopefully surprise and delight the recipients!

